Family Wall Art

I recently ran across the folks from Clear Scraps and was amazed at the beautiful things that can be made with their products.  Today I will share with you the first of several projects that can be made with the clear products.
The product comes with a chipboard backing, and a clear front.  Simple Enough.  It only costs $12.99
I wanted to accent the piece with dictionary paper (cause I love it) and some wedding photos from my son and my daughter in love's wedding.

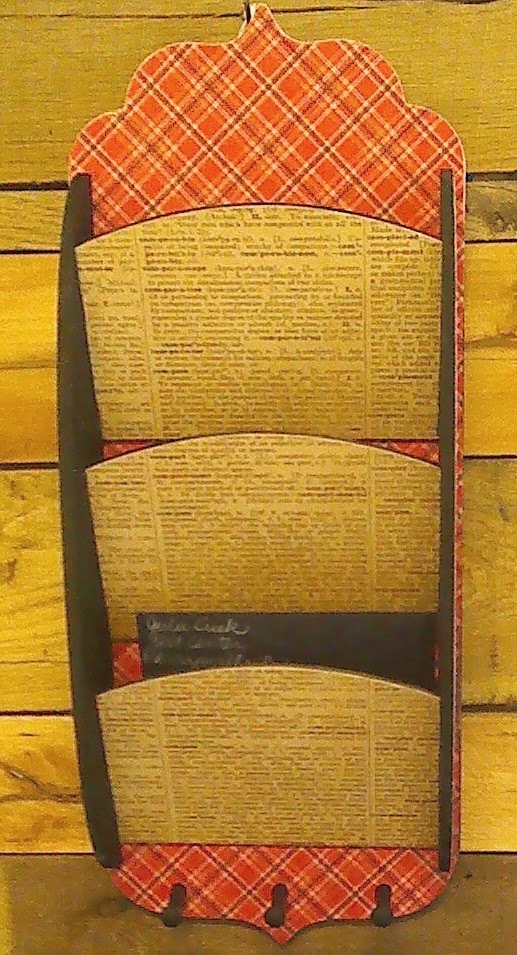
 I tore the pages out of the dictionary and tore them into random pieces.  I then accented the pieces of dictionary paper with Tim Holtz Distress ink Brushed Corduroy.  I adhere the paper to the chipboard piece using a small amount of Scotch Quick Dry Adhesive.  I then used Creek Bank Creation's Big Brother Sanding Stick to clear up the edges.


I then took the clear part of the product and used a dry erase marker to trace the letter shape onto each photo.  Wipe off the marker with a tissue when you are finished.  If you get any on the clear product wipe it off.  Cut the letters out.  I wanted to mat my letters so I used my Magic Matter to mat each letter.  

I then got out my Beacon's 3 in 1 adhesive and put a small amount on the back of the letter F.  I carefully placed it onto the chipboard using the top piece as a guide.  Because the adhesive does not dry fast I have a small window of time to move the letter around and put it where I want to place it.  Isn't that swell?    Place each letter on the board.
I accented the top with Prima Flowers and Want 2 Scrap Bling.  I placed more Beacon's adhesive behind the flowers and the bling to hold the entire piece together.  If you want it more secure you can add small brads placed through holes punched with the Crop A Dile Tool.

This is a great project that I think you will enjoy.  
What a lovely gift to your family!

You can find all the products to make this on our website here!
Orders over $50.00 ship FREE in the United States!
Happy Creating!
Julie Creek
Creek Bank Creations, inc.
www.creekbankcreations.com

River Retreat House
$100.00 crafting weekends! 


Family Wall Art

by on 7:45 PM
Family Wall Art I recently ran across the folks from Clear Scraps and was amazed at the beautiful things that can be made with their produ...
MDF Products
We are loving the MDF products around here!  They are so easy to accent and decorate with.  You can adhere paper using Scotch Quick Dry Adhesive for your own custom look.  When combined with paint this provides a stunning look!


This family board is awesome because it comes in two pieces.  Take them apart and paint them your desired color.  Then adhere paper to the background.  Glue the entire piece back together and accent as desired! 

I accented the family board with one sheet of chipboard, clothes pins and die cut flourish. Those products can be found here. 

All the mdf products can be found on our website here.  Orders over $50.00 ship free!
Don't forget the adhesive! 

Julie Creek
Creek Bank Creations, inc.
www.creekbankcreations.com
Scrap Camp

MDF Products

by on 3:24 PM
MDF Products We are loving the MDF products around here!  They are so easy to accent and decorate with.  You can adhere paper using Scotch ...

Join me to support raising funds to end cancer 
and honor our friend Susan Fischer! 


Scrappin For Susan
Warren County Indiana Fairgrounds
June 7th 9am-6pm
To attend all day the fee is $25.00.  This includes scrapbook space, lunch and snacks provided.  Goodie bags.

You can attend this event as a non scrapbooking particpant, support the silent auction, shop the vendors, and participate in make and takes at NO CHARGE. All funds raised in the silent auction go to Warren County Walk for Life!

I will be at this event from 9am-1pm!
I will be bringing supplies to purchase, and quite a large selection of clearance merchandise!

I am also offering this card Make and Take for just $2.00 per card.
ALL FUNDS RAISED FROM THIS CARD WILL BE DONATED!
I am bringing all the supplies needed to make this card!  
You don't have to know how to craft or scrapbook to make this card!  I will teach you! 
Saying inside...


These products can be found on our website here! 

If you are planning on attending this event and want to purchase these products can you email me and let me know so that I can have appropriate stock on hand?  
Julie @ creekbc@gmail.com

www.creekbankcreations.com
765-793-2523


You may or may not know I have a love for old books.  
You may or may not know I have a habit of making things for old books.
You may or may not know my Mother about croaked when she saw me making flowers from an old bible.
You may or may not know that flowers give me joy.
You may or may not know I have been playing around with various kinds of flower designs for a LONG time.

You may or may not know We R Memory Keepers came out with a new product called
THE FLOWER PUNCH BOARD.

You can view the video here


After watching the video make a few practice flowers.  Then follow my tips below for making a stem head for your flower!
I did not care for the "flat" centers of the flowers.  I wanted a smaller dimensional stem head for the middle.  You will notice that I added two black marks on my board with a sharpie marker.  These marks sit 1/4" and 1/2" to the LEFT of the vertical score line on the board.  To make the center of the flower cut the paper the same as the board suggests for the smallest flower (the first one).  Start the flower the same as you normally would but use the 1/2" sharpie line INSTEAD of the XXS line.  (you'll have to know how to make the flower first, and you can watch the video above to see that part).  I seldom use the 1/4" mark as that is very small. 

Here is what you end up with!  

The Flower Punch board comes with a rolling tool but I wanted a "tighter" roll so I used my petal rolling tool. 
Use the "slotted" end of the tool and slip it on the edge of the flower. 

Roll all the "petals". 

Place the tool on the end of the strip as shown, and carefully start rolling up the end.
Roll about 1".  

Pull back on the tool and remove it. 

I use Beacon's 3 in 1 for the flower making.  I used it on all the flowers.  I like the thick grip, and strong hold. Unroll your piece, and put adhesive along the bottom edge.  I used pipe cleaners for the stem.  I strengthened them by twisting two together.  Place adhesive along the bottom edge of the flower strip, and roll it up around the pipe cleaner. 
Roll it up! 
You only need to roll up an inch or so and you will notice that the petal leaves all start rolling around at the exact same place on the stem.  When you see this start to happen stop and cut the paper off.  
You can then trim off one petal at a time and glue them on individually.  I only glue two petals by hand.  You do not want this piece to become too "thick".  When you go to add the first xxs small flower, you will need to slide that flower onto the stem head you are making.  IF the stem head is too fat at the base, your flower won't slide onto the stem head. 
Complete! 

 Make your first smallest flower according the the directions.
The board comes with a rolling tool.  
It works good for a large loose roll when used like shown above.  For the smaller flowers I prefer the petal rolling tool I shared with you earlier.

Flower with rolled edges. 

Slip the flower onto the stem head.  Pull the XXS flower up onto the paper of the stem head and adhere with Beacon's or your favorite adhesive. 

YEH!  
To finish the flower as I've done the flower has the following pieces.
The stem head center you make by hand as shown above.
The xxs size.
The xs size.
The small size.
Make another xxs size, and place it on the BACK of the flower, and roll the edges DOWN.  If you look at the photo below you will see the small piece on the back.  This piece covers up the "ugly" back of the larger flower pieces...and it looks FAB!!  

If you enjoyed this blog post and decide to order the punch board would you please consider purchasing from us?  This tool is in our online store here.  It can be found at our booth at Rabbittwon Antiques and Artisans at 412 East Main Street in Danville, Illinois, or it can be purchased when you visit our Retreat House in Perrysville, Indiana. (we do not have regular store hours at retreat house so call before coming).  When you support our business with purchases it enables us to continue to produce educational blog posts and videos!
May is a great time to visit River Retreat House and I do have some open dates!  Contact me for details at 
creekbc@gmail.com
Keep Crafting! 
Julie Creek
Creek Bank Creations, Inc.
201 Center Street
Perrysville, IN 47974
765-793-2523
www,creekbankcreations.com
creekbc@gmail.com


Enjoy Every Moment Page Kit!  
Great for Summer Photos only $5.99 on our website here! 


It's a beautiful life page kit!  Only $5.99 on our website here! 

Enjoy!
www.creekbankcreations.com
River Retreat House for $100.00 scrapbook weekends!
765-793-2523
Julie Creek